

You have completed the project. You have delivered the files. You have answered the customer’s last question. Now comes the part every business waits for: the payment. But before the money reaches your account there is one important step which is sending an invoice.
An invoice is simple document, but it plays an important role in business. It tells your customer exactly what they are paying for, how much they need to pay, and when the payment is due. The good news is that you no longer need to spend hours creating one from scratch.
With a free online invoice generator, you can create invoice online in minutes. Add your business details, enter customer information, list your products or services, include applicable taxes, review the total, and download the finished invoice.
What Is an Invoice?
An invoice is document a seller sends to customer to request payment for products or services. For example, imagine you are a freelance graphic designer. You complete logo project for a client for ₹10,000. You can send the client an invoice showing:
- Your business or professional name
- Customer details
- Invoice number
- Invoice date
- Description of the logo design service
- Quantity or service amount
- Price
- Applicable tax
- Total amount
- Payment details
- Payment terms, if applicable
The customer can then use the invoice to understand exactly what they are being charged.
What Information Do You Need to Create Invoice?
1. Your business details
Start with the seller’s information. Depending on your business and local requirements, this may include:
- Business or individual name
- Business address
- Phone number
- Email address
- GSTIN, if applicable
- Other relevant tax or registration details
2. Customer details
Next, add information about the person or business receiving the invoice.
- Customer name or business name
- Billing address
- Email address or phone number
- GSTIN, where applicable
3. Invoice number
Every invoice should have a clear identification number.
For example:
INV-001
The next invoice could be:
INV-002
You can use a numbering system that makes sense for your business. The important thing is to keep your invoice numbers organized and avoid accidental duplicates.
4. Invoice date
Add the date when the invoice is issued. Using the correct date helps you and your customer keep accurate financial records.
5. Products or services
Clearly describe what you are charging for.
For example:
| Description | Quantity | Rate | Amount |
| Website design | 1 | ₹25,000 | ₹25,000 |
| Website maintenance | 2 | ₹3,000 | ₹6,000 |
| Total | 3 | — | ₹31,000 |
Avoid using short, unclear descriptions such as work or services. customer should be able to understand what the payment is for by reading the invoice.
6. Taxes
If tax applies to the transaction, enter appropriate tax information. For GST registered in India, invoice may need relevant GST details, depending on transaction. GST invoice can include information such as GSTIN, HSN/SAC codes and applicable GST components. For example, depending on transaction, GST may be shown through:
Do not simply choose a tax rate because it looks familiar. The correct tax depends on the goods or services, transaction type, place of supply, registration status, and applicable GST rules.
7. Payment information
Tell your customer how they can pay. You may include:
- Bank account details
- UPI details
- Payment link
- Other accepted payment methods
Only include payment information that is correct and appropriate for your business.
8. Payment terms
If payment is not due immediately, clearly state the payment terms. Examples include:
- Payment due within 7 days
- Payment due within 15 days
- Payment due within 30 days
- Due on a specific date
Clear payment terms can reduce confusion between you and your customer.
How to Create Invoice Online for Free: Step-by-Step
To create invoice online quickly and in few simple steps, one of the best options is to use free invocreto automated invoice generator which provides an online invoice creation workflow and supports GST-related invoice fields for Indian businesses.
Visit the free invocreto invoice generator
Step 1: Add the Invoice Number and Date
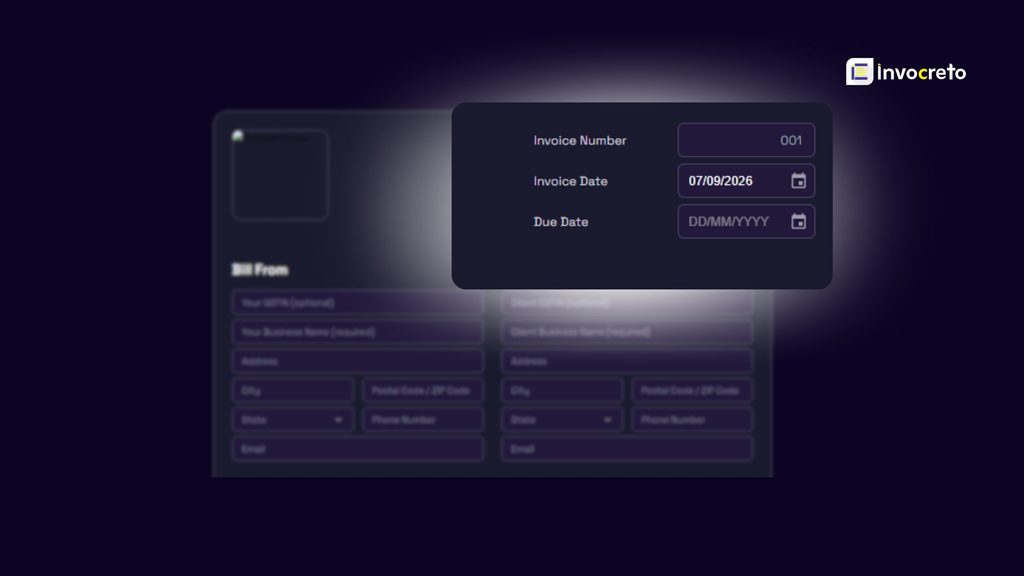
Enter your invoice number and invoice date.
Step 2: Enter Your Business Information
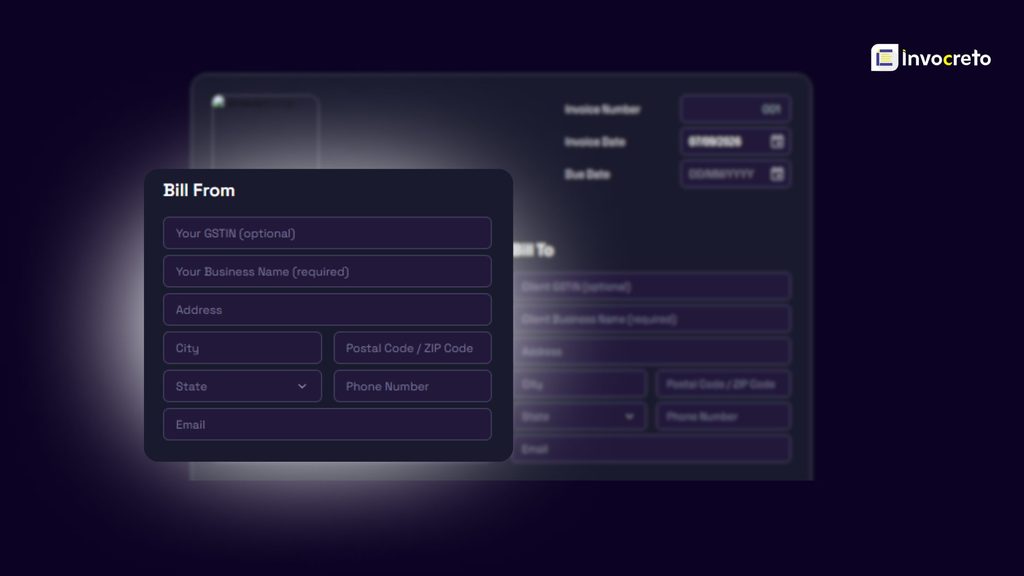
Add your details as the seller:
- Business name
- Address
- Contact details
- GSTIN, if applicable
If your business is registered under GST, check your GSTIN before sending the invoice.
Step 3: Add Customer Information
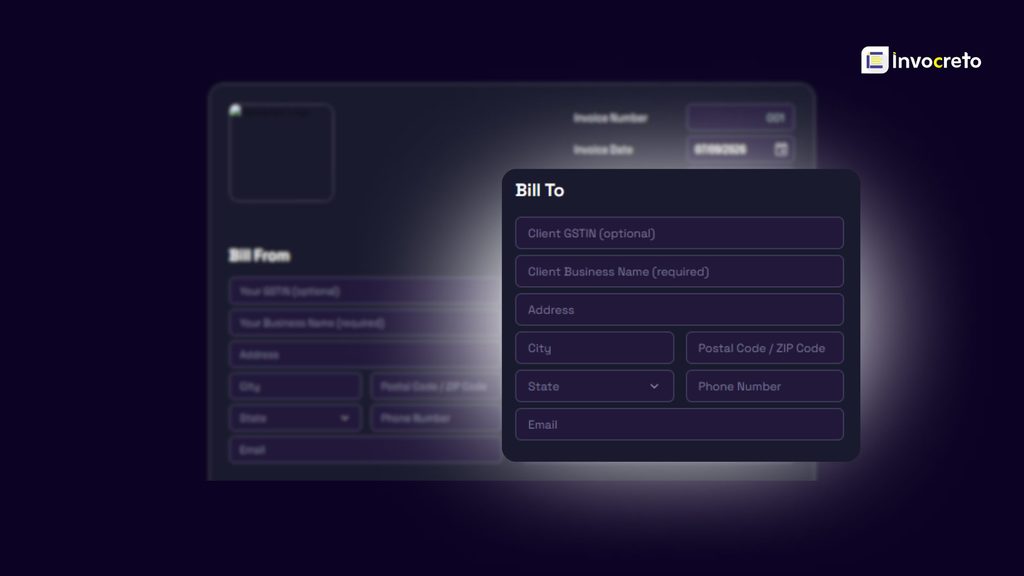
Enter the customer’s details. For business customer, use correct legal or business name and billing information where required. If GST applies, check whether the customer’s GST information needs to be included on the invoice.
Make sure you are using the correct customer information for the particular transaction.
For example:
- Invoice Number: INV-2026-015
- Invoice Date: September 5, 2026
Step 4: Add Products or Services
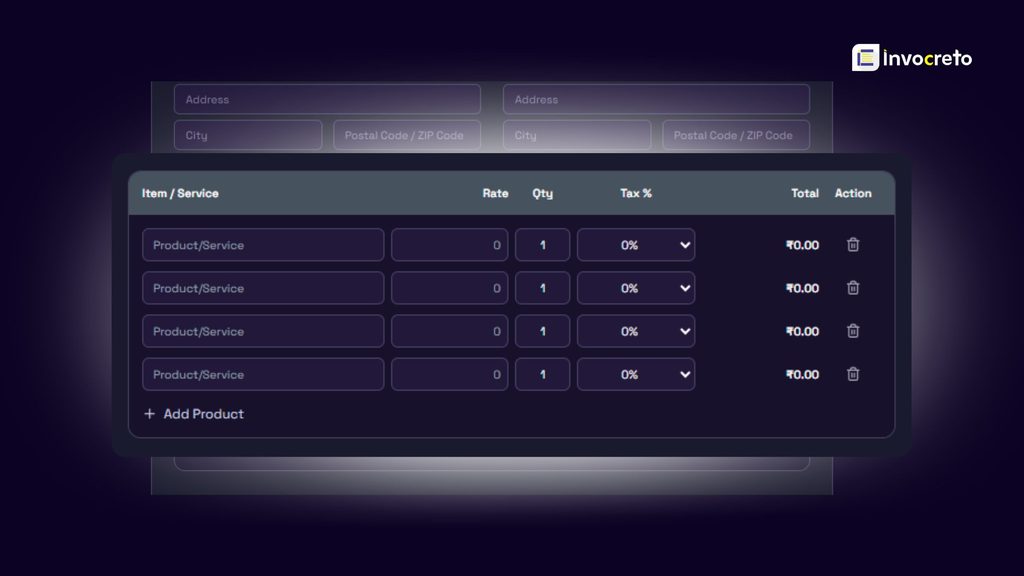
Now enter what you are charging the customer for. For each item, provide a clear description and the relevant quantity and price. If you are selling physical products, you may also need information such as product description, quantity, unit price, and applicable product or tax classification. For services, describe the work clearly enough that the customer understands the charge.
Step 5: Add Payment Details
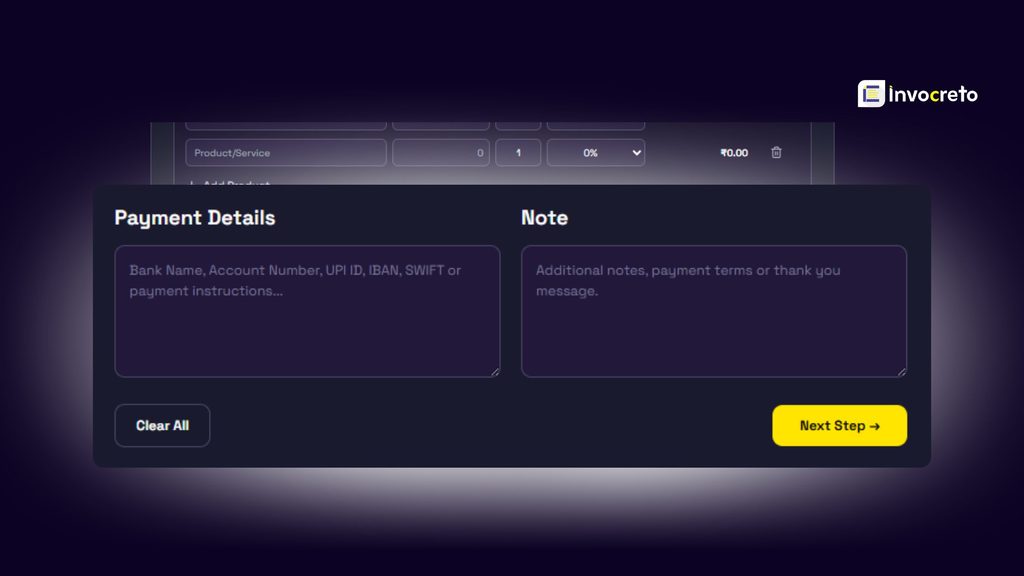
Enter the payment information you want your customer to use.
For example:
- Payment method: Bank transfer
- UPI: yourbusiness@upi
You can also add notes about payment terms or a due date. Make sure the payment information matches your actual account before sending the invoice.
Step 6: Review the Invoice
Do not immediately send the invoice after filling in the fields. Take a moment to review everything. Check:
- Seller name
- Customer name
- Invoice number
- Invoice date
- Product or service descriptions
- Quantity
- Prices
- Subtotal
- Tax amount
- Total amount
- GSTIN, if applicable
- Payment information
- Due date
- Spelling and formatting
Step 7: Choose an Invoice Template
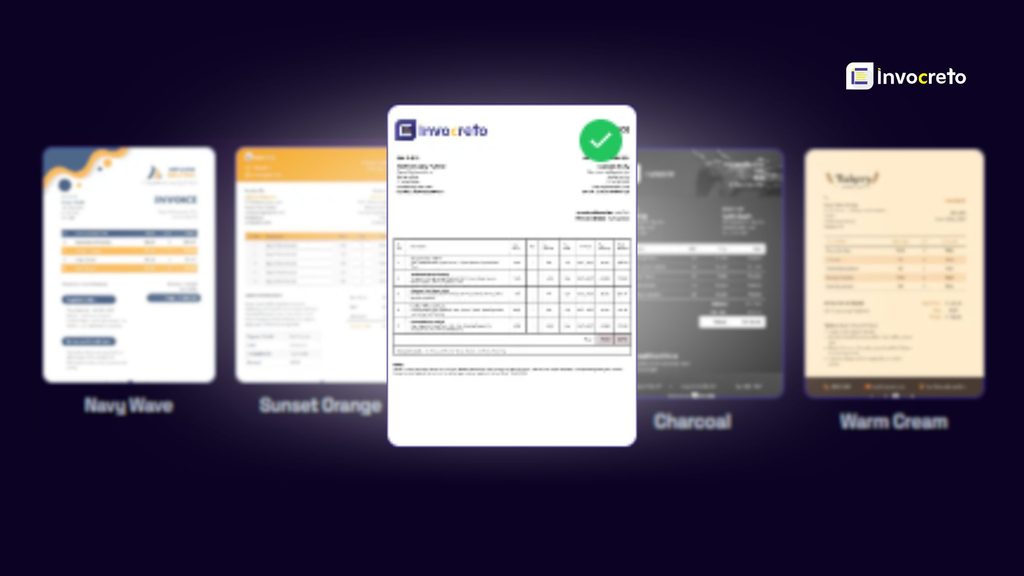
Select invoice template that is suitable for your business. A good invoice template should be:
- Easy to read
- Clean and organized
- Clear about the total amount
- Suitable for your type of business
- Easy for the customer to understand
Step 9: Download the Invoice
After reviewing the information, generate and download the invoice. An invoice PDF is practical format for sharing because it preserves the layout and can be opened on most devices. Once the invoice is ready, send it through an appropriate channel.
Now Create Invoice Online for free
Creating an invoice online does not need to be complicated. With the right information and a simple invoice format, you can prepare a clear billing document in minutes. The basic process is straightforward: choose a template, enter your details, add the customer, describe the products or services, add payment information, review everything, choose template and download the final invoice. Make sure you use the correct GST details and tax treatment for the transaction rather than relying only on automatic calculations.
Create Invoice Online with Invocreto for free. The tool can handle general invoice creation as well as GST-related invoice information, making it practical option for freelancers, service providers, small businesses, and other businesses that need a straightforward way to prepare invoices online.

No comments yet